Is your large 3D printing project taking weeks to finish? You are likely using the wrong tool for the job.
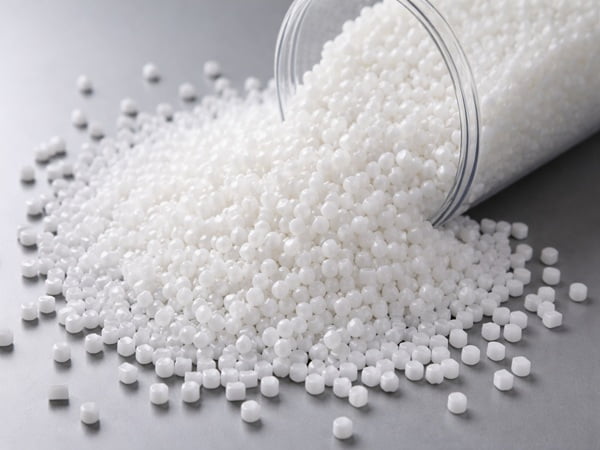
A pellet extruder 3D printer1 uses raw plastic granules2 instead of filament spools. This screw-based system3 melts material faster, allowing for massive build volumes, significantly lower material costs, and print speeds up to 100 times faster than standard desktop FDM printers.
I have seen many business owners struggle with small printers. They try to glue small parts together to make big objects. It is slow and weak. I will explain a better way to handle large-scale manufacturing.
What Is a Pellet Extruder 3D Printer and How Does It Actually Work?
Do you understand how an injection molding machine works? This printer is very similar, but it moves.
It uses a hopper to feed plastic pellets into a heated barrel. A rotating screw pushes the pellets forward, melting them through friction and heat. The nozzle then lays down a thick bead of molten plastic to build the part layer by layer.
I want to break down the mechanics for you. The core of this machine is the screw. In standard 3D printers, a gear pushes a thin wire (filament) into a hot end. This is fine for small toys. But for industry, it is too slow.
In a pellet printer (often called FGF or Fused Granulate Fabrication), we use a screw. The screw has three zones. First, the feed zone pulls the cold pellets in. Second, the compression zone squeezes the pellets. This creates friction heat. Third, the metering zone pushes the fully melted plastic out of the nozzle at a high pressure.
This system is powerful. It does not rely on the strength of a filament strand. It relies on the motor driving the screw. This means we can push much more plastic in less time.
| Feature | Filament Printer (FDM) | Pellet Printer (FGF) |
|---|---|---|
| Material Input | Plastic Wire (Spool) | Raw Granules (Pellets) |
| Melting Method | Heating Block only | Screw Friction + Heaters |
| Flow Rate | Low (grams/hour) | High (kilograms/hour) |
| Pressure | Low | High |
This structure changes everything about how we look at production speed.
Why Filament-Based Printing Breaks Down at Large Sizes?
Have you ever had a print fail after running for five days? It is a terrible feeling that costs money.
Filament printers are limited by low flow rates and expensive materials. When you print large objects, the long print times increase the risk of failure, and the cost of filament spools becomes too high for industrial production.
I have watched engineers try to print a full-size chair with filament. It is a mistake. There are two main problems here: time and cost.
First, let us look at time. A standard nozzle is 0.4mm wide. To print a 1-meter tall statue, the print head must move millions of times. It might take 200 hours. If the power cuts out or the nozzle clogs at hour 190, you lose everything. The risk is too high.
Second, consider the material. To make filament, a factory takes pellets, melts them, pulls them into a wire, and winds them onto a spool. You pay for this extra processing. Filament often costs $20 to $50 per kilogram. Pellets are the raw material. They cost $2 to $5 per kilogram.
If your project uses 50kg of plastic, filament costs $1000. Pellets cost $150. For a business, this math is simple. Filament cannot compete at this scale.
The Real Advantages of Screw-Based Pellet Extrusion?
You might worry that faster printing means lower quality. Does the speed make the part weak?
The screw design creates high internal pressure which leads to superior layer bonding. This results in parts that are often stronger and more isotropic than filament prints, making them suitable for functional industrial applications.
I want to dive deeper into "strength." In 3D printing, the weak point is always where two layers meet. If the hot plastic does not melt into the layer below it, the part snaps.
With a screw extruder, the plastic is mixed very well. The screw rotates and homogenizes the melt. The temperature is consistent throughout the material. When it exits the nozzle, it is hot and under pressure. This pressure forces the new layer to fuse tightly with the previous layer.
At CHENcan CNC, we test this often. We find that pellet-printed parts act more like solid blocks of plastic. They are not just hollow shells.
Also, you can print continuously. With filament, you must stop to change the spool. This pause cools the part and creates a weak line. With pellets, you just pour more into the hopper while the machine runs. The printing never stops. The thermal history of the part stays consistent. This is vital for structural integrity.
Material Freedom: From Standard Pellets to Recycled and Filled Polymers?
Are you tired of being locked into buying one brand of material? You should have more choices.
Pellet extrusion opens up the entire injection molding supply chain. You can use standard industrial pellets, recycled shredded plastic4, or high-performance composites filled with carbon fiber or glass fiber without needing specialized spools.
This is my favorite part of this technology. You are free. You do not need to buy "3D Printing Filament." You can buy the exact same pellets that Lego or car manufacturers use.
We can categorize the materials you can use:
- Commodity Plastics: PLA, ABS, PETG. These are cheap and easy to find anywhere in the world.
- Engineering Plastics: PC, Nylon (PA), PEEK. These withstand heat and chemicals.
- Composites: This is huge. You can mix glass fiber or carbon fiber into the pellets. The screw mixes them for you. This makes the parts incredibly stiff and strong.
- Recycled Material: Do you have old plastic waste? Grind it up. As long as the pieces are uniform, you can print with them.
I have clients who use "regrind." They take failed prints, shred them, and put them back in the hopper. It is a closed loop. It saves money and is good for the planet. Filament printers cannot do this easily.
Print Speed, Throughput, and Cost: What Changes at Industrial Scale?
How fast can we really go? We are not talking about small improvements.
Pellet extruders measure throughput in kilograms per hour, not grams. This allows you to produce large molds, furniture, or vehicle parts in days rather than weeks, reducing lead times by up to 90 percent compared to traditional methods.
Let us look at the numbers. A standard desktop printer pushes about 0.05 kg of plastic per hour. Our industrial pellet machines5 can push 5 kg to 20 kg per hour.
Imagine you need a mold for a boat hull.
- CNC Method: You buy a huge block of foam. You cut away 80% of it. It takes time to rough it out. It wastes material.
- Filament Print: It takes 3 months. It costs $5000 in material.
- Pellet Print: It takes 2 days. It costs $300 in material.
The "Near Net Shape" strategy is powerful here. We print the object slightly larger than needed. Then, we use a CNC machine to trim the surface. Because we printed it fast, the total time is short. Because we only machine the surface, the waste is low.
This changes your cash flow. You can take an order on Monday and ship a massive part on Friday. You do not need to wait for a mold tool to be cut from steel.
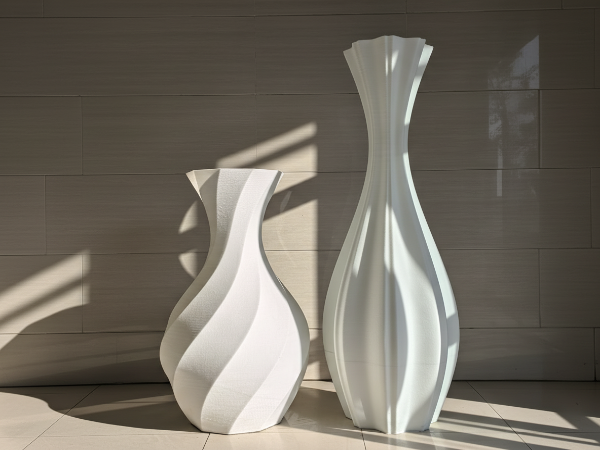
Surface Finish, Layer Height, and Tolerance: Setting the Right Expectations?
Does the part look smooth right out of the machine? You need to be realistic.
Pellet prints have thick layers, often between 1mm and 5mm. This results in a visible "stair-step" effect on the surface. These parts usually require post-processing like machining or sanding if a smooth finish is required.
I always tell my customers the truth. This is a rough manufacturing process. It is not for making jewelry. It is for making structures.
Because the nozzle is big (usually 2mm to 8mm wide), the corners will be rounded. You cannot print sharp 90-degree internal corners. The resolution is low.
However, this is a trade-off. We accept rough layers to get speed. If you need a smooth car body panel, you cannot use the part "as printed."
Here is the typical workflow I recommend:
- Print: Create the shape quickly with 3mm layer height.
- CNC Trim: Use a router to smooth the critical surfaces.
- Fill and Sand: Apply body filler (like on a car) and sand it down.
- Paint: Finish with a top coat.
If you understand this, you will be happy. If you expect a perfect surface immediately, you will be disappointed. It is about understanding the "Roughing" vs. "Finishing" stages.
Typical Applications That Truly Require Pellet Extrusion?
Where does this machine actually make money? It is not for hobbyists.
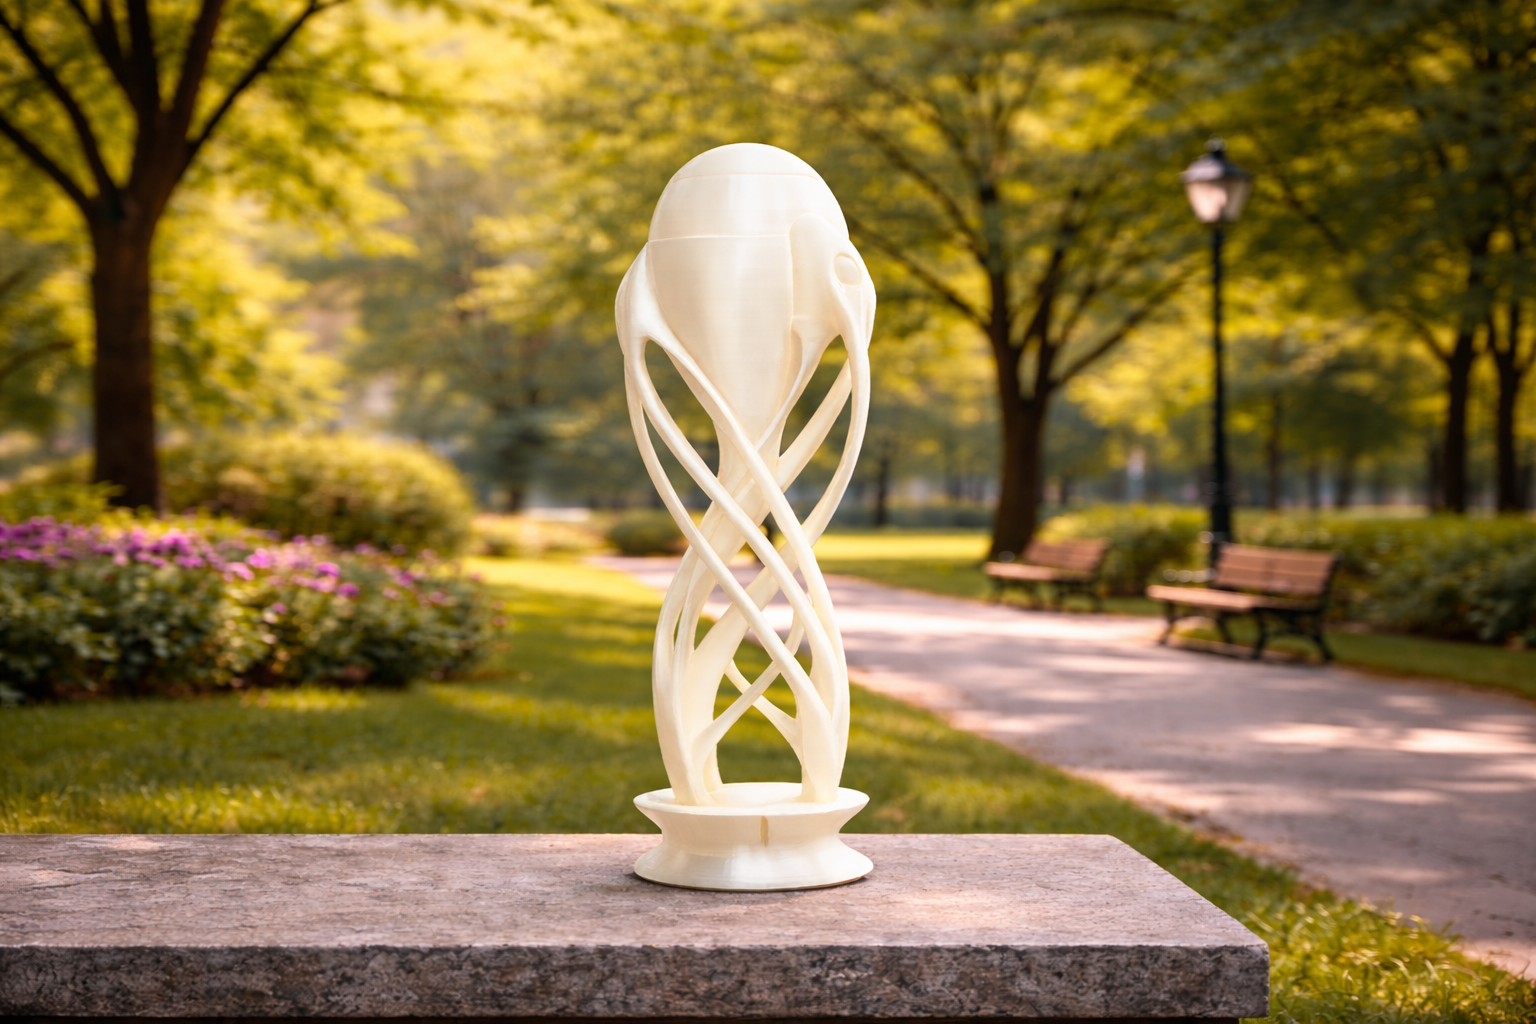
Pellet extrusion is ideal for large-scale outdoor art sculptures6, furniture manufacturing, concrete casting molds, and vehicle prototyping. It is best used where size and speed are more critical than fine surface details.
I want to share a specific insight regarding outdoor art. I have many clients in the creative industry. Traditionally, they use CNC to carve foam or stone. It is messy and wasteful.
Now, they use pellet printing. They print a huge sculpture in sections. They do not need a solid block. They print a hollow shell with a strong infill structure.
Once it is printed, they can spray paint it with different colors. As long as you do the post-processing right—sanding and coating—the plastic is protected. It can last a very long time outdoors. It does not fear the wind or sun.
Other key applications include:
- Composite Molds: Printing a mold for fiberglass layup.
- Furniture: Printing chairs and tables in one piece.
- Architecture: Printing concrete formwork with complex curves.
This method allows artists and engineers to make shapes that are impossible or too expensive with traditional cutting methods.
When a Pellet Extruder Is the Wrong Choice?
Is there a time when you should say no to this technology? Yes, absolutely.
Do not use a pellet extruder for small, highly detailed parts or objects smaller than a basketball. The large nozzle size cannot manage fine features, and the heat management makes cooling small layers difficult.
I have stopped customers from buying these machines. If you want to print a small gear for a robot, this is the wrong machine.
The nozzle is too big. Imagine trying to paint a portrait with a house painting brush. You cannot get the detail. If your part has walls thinner than 2mm, a pellet printer cannot print it. The bead of plastic is too wide.
Also, consider "retraction." In filament printing, the motor pulls the wire back to stop the flow. In pellet printing, there is a lot of molten plastic in the barrel. It is hard to stop the flow instantly. This leads to "oozing" or "stringing" when the head moves between spots.
If your part requires high precision (like +/- 0.1mm) straight off the printer, stick to filament or resin printers. Pellet printing is a sledgehammer, not a scalpel.
Key Machine Features That Matter More Than Brand Names?
What should you look for when buying one of these machines? Ignore the marketing fluff.
Focus on the screw compression ratio, the maximum heating temperature, and the build volume. A heated chamber is also critical for industrial materials to prevent warping and layer separation during large prints.
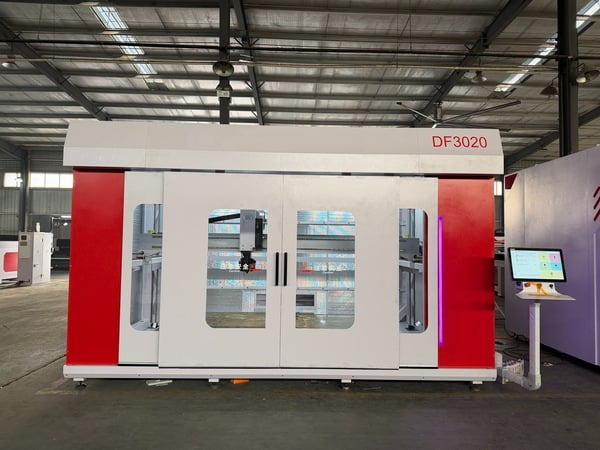
When I talk to engineers, I tell them to look at the hardware.
- The Screw: Is it designed for general use or specific plastics? A longer screw generally mixes better.
- Heating Zones: You need multiple zones. The top needs to be cooler so pellets do not melt too early. The nozzle needs to be hottest.
- Bed Leveling: On a bed that is 3 meters long, it will not be perfectly flat. You need an automatic mesh leveling system to compensate.
- Enclosure: This is vital. If you print ABS or PC, the air must be hot (60°C+). If the machine is open, the cold air will cause the part to crack and warp off the bed.
At CHENcan, we focus heavily on the stability of the gantry. The head is heavy. If the frame shakes, the print looks bad. You need a heavy, welded steel frame, not light aluminum profiles.
How to Decide If a Pellet Extruder 3D Printer Fits Your Project?
Are you ready to make the investment? You need to verify the numbers first.
Before purchasing, conduct a print test to verify time and cost. We can simulate the printing process to confirm if the surface finish and production speed meet your specific business requirements and profit margins.
I advise every potential client to do one thing: Test it.
Do not guess. Send us a file of your typical product. We can run it through our software. We will tell you exactly:
- How many hours it takes.
- How many kilograms of pellets it needs.
- How much the material costs.
For example, if you make outdoor sculptures, we can print a sample. You can try painting it. You can put it outside. See if it fits your business model.
If the test shows that you save 50% compared to your current method, then you buy. If not, you walk away. It is that simple. We want long-term cooperation, so we want the machine to make you money.
Conclusion
Pellet extrusion transforms large-scale manufacturing by reducing material costs and print time. It is not for small details, but for big, tough parts, it is unbeatable. Always test your specific application first to ensure it fits your production goals.
Explore this link to understand how pellet extruder 3D printers revolutionize large-scale manufacturing. ↩
Learn about the advantages of using raw plastic granules over traditional filament in 3D printing. ↩
Understand the mechanics of screw-based systems and their impact on printing efficiency. ↩
Discover the benefits of using recycled materials in 3D printing for sustainability. ↩
Find out how industrial pellet machines can enhance production capabilities in various industries. ↩
Discover how 3D printing can transform the creation of large outdoor art installations. ↩